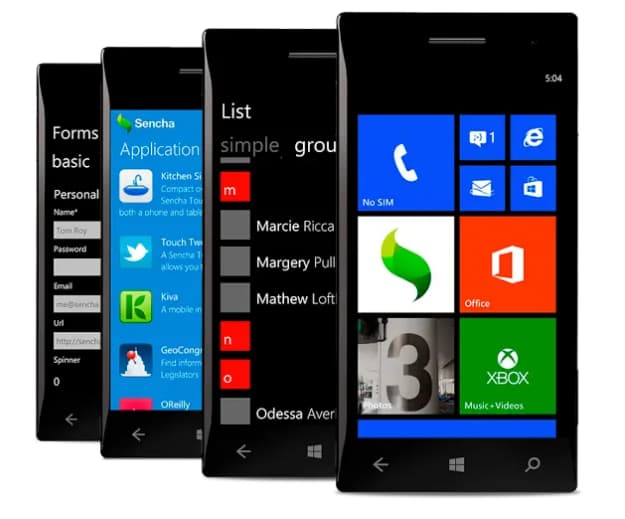
Introduced in 2010, Windows Phone is no longer in production and will not receive any future updates, including security patches. However, countless devices still exist worldwide, reflecting Microsoft’s once-prominent mobile initiative.
Many users acquired their Windows Phone brand-new, unaware of the impending cessation of support. While some have transitioned to platforms like Android or iOS, for which screenshot methods are readily available, loyal Windows Phone users might still wonder how to capture their screen.
Here’s the procedure on How to Take Screenshot on Windows Phone 8, 8.1, and 10.
How to Take Screenshot on Windows Phone 8, 8.1, and 10?

What is a screenshot?
Delving into the realm of digital visuals, one encounters the term ‘screenshot.’ For those pressed for time or seeking a succinct definition: a screenshot captures an ephemeral moment on your computer, phone, TV, or any digital display. It’s an exact bitmap replica, spawned the instant a specified key is actuated or a particular software function is engaged.
Read Also: How to Screenshot on Hewlett Packard
Can you take a screenshot on Windows Phone 7, 7.5, and 7.8?
Regarding the Windows Phone 7 series, Microsoft did not integrate a native screenshot function into these systems. During that era, the screenshot feature was an exclusive privilege for a select group possessing developer-unlocked phones, primarily for diagnostic and developmental activities. Thus, if you’re using Windows Phone 7, 7.5, or 7.8, capturing screenshots remains an elusive feature.
How to take a screenshot on Windows Phone 8?
To master the screenshot functionality on a Windows Phone 8 device, one must first familiarize themselves with its ergonomic design and interface.
On the phone’s right side, you will typically encounter 3 or 4 tactile buttons, contingent on the specific model. However, for our purpose, the topmost two buttons are pivotal. Ingeniously crafted, what appears as a single volume button bifurcates into two distinct functionalities: Volume Up and Volume Down. Additionally, there’s the Power On/Off toggle.
Transitioning to the phone’s facade, past iterations of Windows Phones brandished tactile buttons for Back, Start (embellished with the Windows logo), and Search. Yet, with the evolution to Windows Phone 8 and its successors, these tactile buttons have metamorphosed into capacitive touch sensors, seamlessly embedded beneath the glass facade. Their positioning remains consistent, ensuring a uniform user experience.
With this foundational understanding, proceed with the ensuing steps to capture your desired screenshot on a Windows Phone 8:
- Navigate to the specific screen or application you wish to immortalize.
- Simultaneously, apply pressure to the Start “button” (emblazoned with the Windows logo) and the Power Off/On toggle.
- Maintain this combination until you discern the auditory cue of a camera shutter or observe the phrase “Saving to Screenshots…” materializing on your screen’s upper-left notification bar, or possibly both events concurring.
How to take a screenshot on Windows Phone 8.1 and Windows Phone 10?
To effectively capture your screen’s display, understanding the three key functions and their associated buttons is paramount. These encompass Volume Up, Volume Down, and Power On/Off.
- Position yourself within the desired screen or application you aim to capture.
- Simultaneously, engage the Volume Up button (the foremost on the right side of the device) and the Power On/Off toggle.
- An audible camera shutter will resonate, complemented by a visual cue: “Saving to Screenshots…” manifesting on the screen’s upper-left quadrant.
Where are screenshots saved?
Understanding where screenshots reside is pivotal. All screenshots you capture default to the PNG image format. Typically, these images get stored in the device’s internal memory.
However, if you’ve altered your storage settings or have an SD card, it might diverge. Consistently, the folder labels remain unchanged, simplifying the search.
Option 1: Accessing Via the Photos App
- For users of Windows 8.1 and Windows 10 Mobile: Launch the Photos application.
- Seek out the “Screenshots” folder.
- Inside, you’ll discover every screenshot you’ve snapped.
Option 2: Using File Applications
- For Windows 8.1: Initiate the Files app.
- For Windows 10 Mobile: Boot up the File Explorer application.
- Depending on your configured storage, delve into either the internal memory or the SD card folder.
- Open the “Pictures” directory.
- Pinpoint and access the “Screenshots” folder.
- All captured screenshots should be visibly arrayed.
Option 3: Viewing on a Windows Computer
If you possess a Windows PC, there exists an expedited method to view your screenshots, particularly advantageous if:
- You yearn for a grander display perspective.
- Your phone screen is compromised.
- Backing up the screenshots is on your agenda.
Here’s the breakdown:
- Retrieve the USB cable that accompanies your Windows Phone.
- Identify the end analogous to a standard flash drive, connecting it to your computer. The counterpart plugs into your phone’s port, typically situated at the base. The interface necessitates no additional drivers.
- Navigate to “My Computer” or “This PC”, and identify a drive designated as WP7, WP8, or WP10.
- Journey through to the “Pictures” directory and subsequently the “Screenshots” folder.
- Every screenshot you’ve immortalized awaits within.
More Related Guides:
- Best Media Player for Microsoft Windows Phone
- How to download the Moliplayer Pro for Free in Windows Phone
Conclusion:
In summary, mastering the art of capturing screenshots on a Windows Phone is both simple and versatile. With the knowledge of key buttons and a few easy steps, users can immortalize moments from their devices with ease.
Moreover, accessing and managing these screenshots through various methods ensures flexibility, whether it’s directly from the phone or on a larger Windows computer.
The ability to efficiently take and locate these images plays a vital role in enhancing the user experience. Truly, understanding “How to Take Screenshot on Windows Phone” bridges the gap between fleeting moments and lasting memories in our digital age.