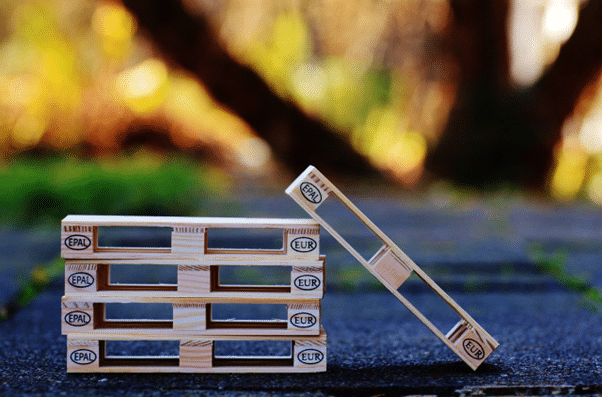
Pallet wood, abundant in free supply and bursting with natural charm, has quickly become a new favorite construction material among savvy do-it-yourselfers. Pallet wood board is one-of-a-kind, and much of it already has a beautiful patina from being exposed to the outdoors.
The ideas that we will mention in this article are guaranteed to be a blast to build. These seven simple projects are a cheap and entertaining way to give your balcony or terrace a fresh, contemporary rustic appeal without breaking the bank. Most projects just need equipment you may already have, making them available to anybody with the drive to collect materials from abandoned pallets. DIY pallet projects can be built in a day or two with basic tools like a pry bar, hammer, nails, cordless drill, and saw. Here are seven simple pallet DIY projects that you can make and completely transform your balcony or terrace.
Planter
The pallet planter you create in this project will serve as a wonderful container for your flowering plants. First, you will divide a pallet into thirds and then put them back together to form a basic planter box. The finished pallet planter box is 15 inches by 43 inches by 15 inches, providing enough space for planting almost anything. As mentioned, the first step is to divide the pallet into thirds. Both the front and the back of the pallet should have cuts made in identical spots. Pallet boards should be cut between the facing side, rather than through. A plank and a square wooden spacer will be attached to the rear of each section. Get rid of any protruding nails by hammering them down. Put the three parts together to form the three major sides of the planter: the front, the rear, and the bottom. The bottom of the planter will be the part from which the spacers and boards were removed. Drill pilot holes before using screws to join the three parts.
You will now be looking at a pallet planter with three sides. The two shorter sides should be made from the thinner boards removed from the opposite side of the pallet. Trim them to fit and attach them to the walls using screws or nails. Use sandpaper to smooth any splinters or rough spots you find in the wood as you work. The pallet box is finished at this point.
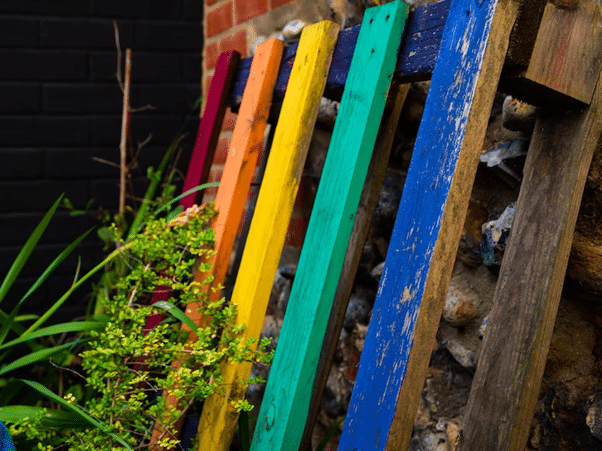
If you were able to remove the spacers, you could use the wooden blocks as the planter’s legs. But if you don’t want to, you can always set the planter right on the ground or use bricks as legs. This type of project will increase the value of your home. If you plan to sell your home soon and don’t have inspiration for this type of improvement, you can get alerts to see what others have done, as this will speed up the process of selling your property. Perhaps looking at different ideas will help you come up with your own unique and mesmerizing one.
Loungers
For this project, use four identical, rectangular pallets. If you don’t have four, use three identical, square pallets and one somewhat broader than the others. Put two of your four identical pallets on top of each other to form a tower. If you just have one pallet left, make sure it’s broad enough to serve as back support. The three layers of wood that make up a pallet are the top boards, the middle boards (2×4), and the bottom boards. The top boards in this instance have to be long enough to serve as back support while leaving enough for the 2X4s that run down the sides of the seat. They should be at least four inches longer than the breadth of the seat, while an extra inch or two would make things simpler.
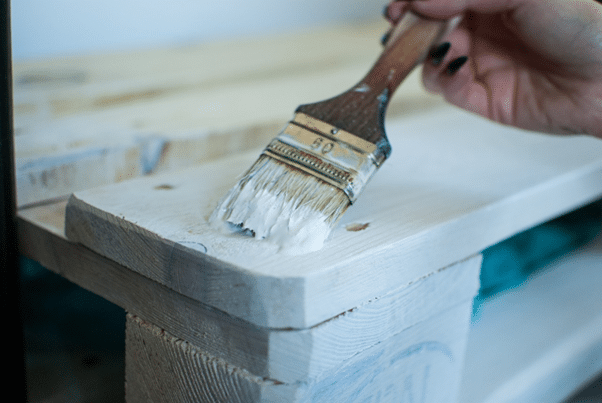
The next step is to take out the two middle boards on the exterior of the pallet and pull out the bottom boards. It will be easier to hold the upper boards in place if you leave the one or two 2×4 boards in the center where they are. Split the discarded items in half. Cut the slats so they face in the same direction as your seat. The top boards on each side need 2x4s attached to them. In order to reach down and fit next to the seat pallets, they will need to be longer than your backrest. Then, decide how steep of an angle you want your backrest to be by propping up the seat in the desired position. Next, mark the desired angle and secure the support legs to the backrest. It’s up to a homeowner to decide whether he wants to decorate a lounge with paint or not.
Table
Building a beautiful outdoor coffee table that can withstand any weather is another worthy improvement project. Choosing the desired size of your finished top is the first step. After the plywood is the right size, you may stop cutting. This will serve as the anchor for your chevron design. First, take a scrap of pallet wood and sew off a right triangle from one corner. The next step is to draw a line along the middle of the plywood and place each triangle so that they are mirror images of one another. When you’re satisfied, secure them with pins and glue. First, take a plank of pallet wood and lop off 45 degrees from one end. Join that 45-degree slant to your main axis. Using the plywood as a guide, draw a line beneath. Then, you should pin it, glue it, and cut it out. A lovely chevron design may be achieved by following this pattern consistently. Make four table leg trim pieces from the pallet wood. Now you only need to put it into place at the top.
For added strength, longer pins should be used. Use the 2″x3″ section in the center of the pallet for the legs. You may make them shorter or longer by dividing them in half. In the next step, you’ll hammer two of them together to increase the leg’s surface area and stability. You may connect them by hammering them into the border after first pinning them in place. You may now enhance the aesthetic appeal of your balcony with this remarkable table.
Bench
For this DIY project, you’ll need to take your pallet and cut it along the main support beam to produce one solid piece, which will serve as the back and the seat of your bench. This section of the seat will function as a bench. The remainder of the pallet was used to create the bench’s legs by sawing it in half across its boards. The legs are then fastened to the pallet’s seat. You may achieve this by screwing a board to the opposite side of the seat of the bench that you cut off. The bench’s legs, which will be screwed into place on each side of the seat, may then be assembled. If you want a good, even seat, you should measure the lengths of the legs on both sides and place the seat at the same distance from each.
For added safety, use two screws in each board’s corner. If you’d like, we can attach an extra pallet to the back of your bench. Then, anchor your pallet to the ground by adding boards that go down its length. You’ll have lots of options for securing your pallet to the bench in this area (the left side of the bench). It’s practical, yes, but it also serves as an attractive ornament that will round out your pallet’s overall design. Now that you’ve completed labeling your pallet, you can sit back and enjoy the results. Unwind and take pride in your pallet creation.
Candle Holder
The first thing you need to do when starting this project is to select a piece of pallet that you like. Reduce its size by cutting it down. Get out your measuring tape and pinpoint the dead center of your wooden board. To achieve this, first determine the width and length, then locate the centers of each dimension, and then join them using a straightedge. The first hole will be drilled here and will also be the point you will measure from. Take some measurements to determine how far apart the holes for the votive candles should be. After you’re sure that the marks are aligned, you may go on to the next step and begin drilling. Don’t give up if your first few holes with a cordless drill aren’t perfectly straight. Experiment with different entry angles into the drilled holes and with amounts of pressure on the gun if you see this occurring.
As the drill press applies uniform pressure throughout the cutting process, the resulting holes will be perfectly uniform in size. Keep working along these lines. Keep track of the depth of each hole as you drill it to ensure they are all the same. If there are any jagged edges on the wood, sand them down. So there you go! Your brand-new candle holder is here, throw in some candles, and you’re set to go.
Clock
Another easy do-it-yourself project that calls for nothing more than pallet wood is this. Wooden wall clocks are charming, and they may be both attractive and practical thanks to the inclusion of high-torque clock hands. It all starts with taking the pallet apart. Using protective equipment such as eyewear and gloves, split the pallet boards in half lengthwise. The resulting width of each plank will be around 2 1/2 inches. The next step is to round off a piece of plywood to a diameter of 24 inches. The middle hole should be 4 inches in diameter (this is where you will attach the clock movement piece).
After that, arrange the pallet wood pieces on top of the plywood circle, staggered like bricks. Glue the pieces of pallet wood together, and then nail each piece in place. To reveal the plywood circle onto which the rows of pallet wood have been bonded and fastened, the glued pallet top must be flipped over after the glue has dried. Then cut out the circle using a jigsaw. After that, connect the clock’s hands to the front and the clock mechanism to the rear using a threaded shaft in the middle. Stencil the desired amount of numbers (four or twelve) and you’re done!
Lamp
When you find yourself with an extra lampshade and a damaged pallet you can make a pallet lamp. The first step is to cut two tubes to the appropriate length. The length of the tube is dependent on the size of the lampshade. To prevent the tubes from scratching the electrical wire, deburr the ends after cutting. Wrap the tubes with folded sandpaper and twist them to create a brushed finish. Make sure the hole you drill at the top of the pallet spacer block is large enough to accommodate your light bulb socket. You should drill halfway through. Two holes, each the size of your tubing, should be drilled into the back of the block. Make a hole approximately halfway through. A wire must be able to pass from the top tube hole to the socket hole.
On the board, make two holes that are the same size as your tubing. You can reach the socket hole at the top by threading a wire through the top hole in the plank, into the top tube, and then out of the top hole in the block. Connect the light switch, plug, and lamp socket. Put some strong glue on all the pieces and put them together. You may nail or screw the plank to your wall once you’ve drilled a hole in it. After it’s dry, insert a bulb into the lampshade and turn on the light. Put on some light and just stare for a while. If you find yourself enjoying woodworking, you can always invest in yourself to increase your skills. With time, you can become a professional, make more complicated projects, and beautify your home.
Pallets may be used to create a broad range of furniture for both indoor and outdoor spaces, including clocks, side tables, and lounge chairs. Projects that are completed by the homeowner themselves are becoming more common in today’s houses, and not only because they have a great appearance. Pallet wood is also very affordable, it can resist a significant amount of wear and tear, and it needs very little preparation in order to be utilized, which makes it an absolute must for any project, including a balcony or terrace.